Creating and managing groups
To open the panel of groups, in the “Account” panel, open the context menu and click on the “Group” element.
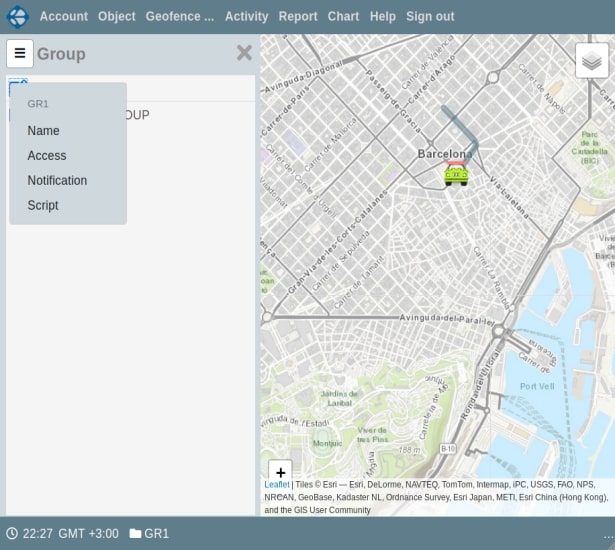
To create a subgroup in the current group, open the context menu of the “Group” panel, and click on the “Create” element.
To go to a group, click on the desired group. To return to the parent group, click on the topmost item in the panel of groups. The name of the current group is always displayed in the lower status bar of the application immediately after the “folder” icon.
You can move objects to the current group. If the object does not have a password, enter NOPASS. An object can be completely moved to the current group, or you can create a link to the object in the current group. As shown in the video presentation, objects and shortcuts have different content in the context menu.
Each group can have its own users, to which objects of only this group and children are accessible (can be changed by setting user rights). You can create subgroups in the current group.
You can open access to external observers to all objects of the current group. Access may be canceled at any time. You can create notification rules for all objects in a group. If the object has its own notification rules, then they will be applied, otherwise, the group's notification rules will be applied. Similar rules apply to the scripting language.
The “Access”, “Notifications” and “Script” elements appear only in the context menu of the current group. For other groups in the group list panel, only the elements for renaming and deleting the group are available.
A group containing objects, subgroups, or users cannot be deleted. You must delete or move all items contained in the group.
To quickly switch between groups, you can click on the group name in the lower status bar and select the desired group.
On the Vialam service YouTube channel, a one-minute video presentation is available.